Tumbler wrap size chart for common blanks
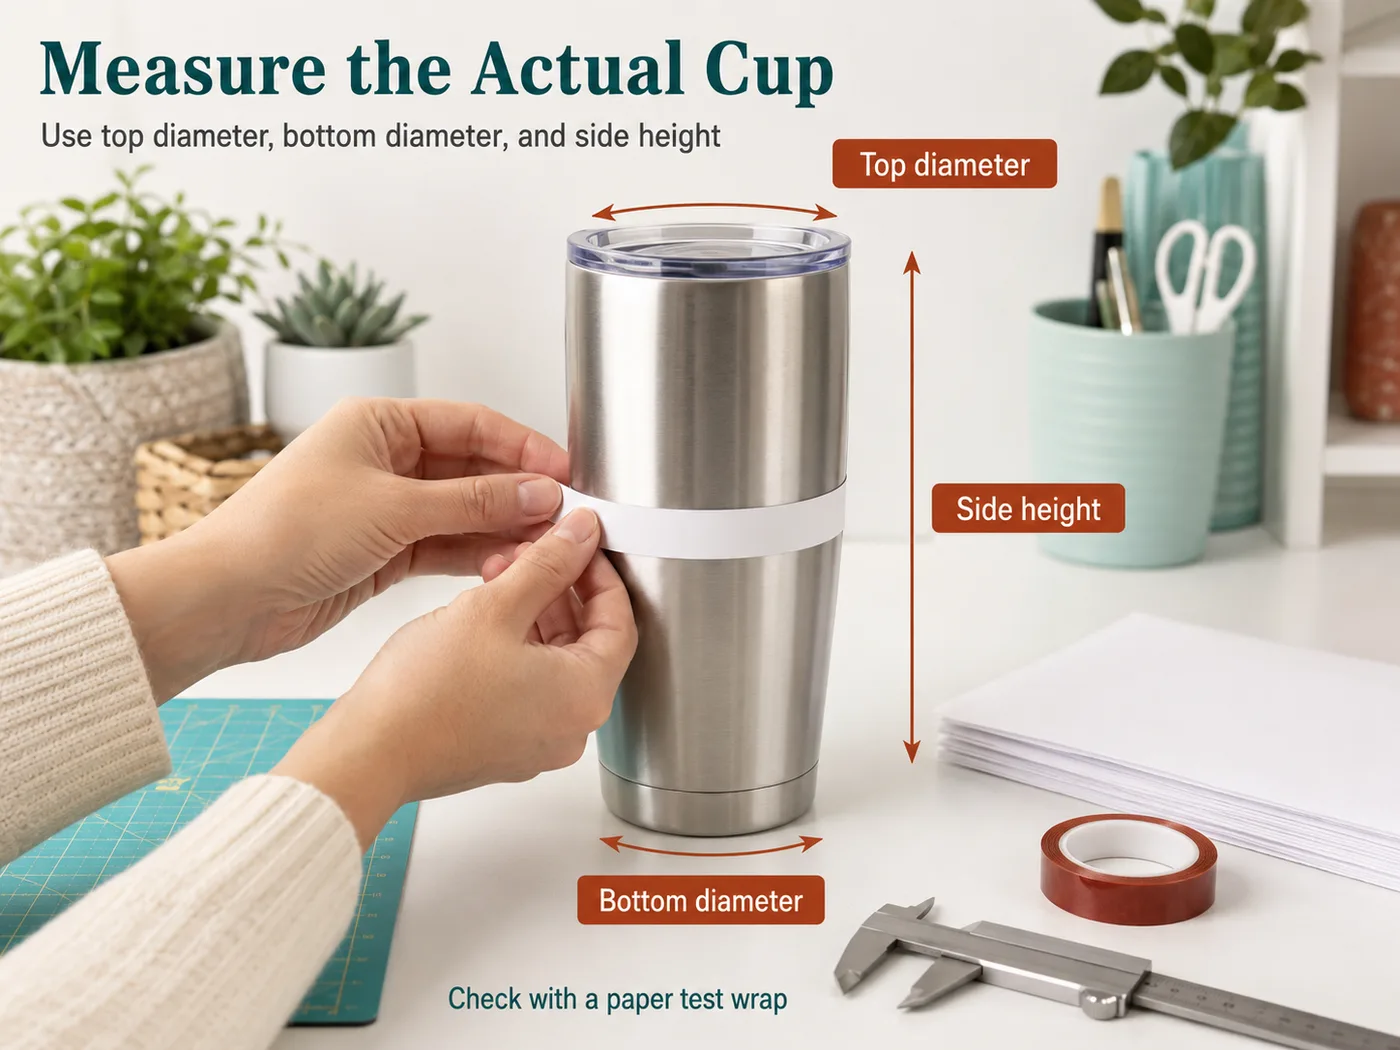
Use this tumbler wrap size chart as a starting point for common sublimation blanks. Measure the actual circumference, top diameter, bottom diameter, and printable height before production because cups with the same ounce label can vary by brand.
| Product / blank type | Common size | Suggested wrap width | Suggested wrap height | Bleed / overlap | Notes |
|---|---|---|---|---|---|
| 20 oz skinny tumbler | 20 oz | 9.25-9.45 in | 8.1-8.4 in | 0.15-0.25 in | Measure circumference before printing |
| 30 oz skinny tumbler | 30 oz | 10.0-10.3 in | 9.2-9.5 in | 0.15-0.25 in | Check height under the rim |
| 40 oz handled tumbler | 40 oz | Front panel / split wrap / cutout | Measure exact panel height | 0.2-0.35 in | Rough planning only unless exact panel measurements are known |
| 20 oz tapered tumbler | 20 oz | Use measured template | Use measured height | 0.2-0.3 in | Tapered blanks need a shaped template |
| 16 oz tumbler | 16 oz | 8.5-9.1 in | 6.5-7.3 in | 0.15-0.25 in | Brand shapes vary |
| 11 oz mug | 11 oz | 8.5-8.75 in | 3.5-3.75 in | 0.1-0.2 in | Keep clear of handle |
| 15 oz mug | 15 oz | 9.0-9.4 in | 4.1-4.4 in | 0.1-0.2 in | Check press clearance |
| Custom blank | Measured | Measure circumference for wrap width | Printable height + bleed | As needed | If using this calculator, divide circumference by pi before entering diameter |
20 oz skinny tumbler
- Common size
- 20 oz
- Suggested wrap width
- 9.25-9.45 in
- Suggested wrap height
- 8.1-8.4 in
- Bleed / overlap
- 0.15-0.25 in
- Notes
- Measure circumference before printing
30 oz skinny tumbler
- Common size
- 30 oz
- Suggested wrap width
- 10.0-10.3 in
- Suggested wrap height
- 9.2-9.5 in
- Bleed / overlap
- 0.15-0.25 in
- Notes
- Check height under the rim
40 oz handled tumbler
- Common size
- 40 oz
- Suggested wrap width
- Front panel / split wrap / cutout
- Suggested wrap height
- Measure exact panel height
- Bleed / overlap
- 0.2-0.35 in
- Notes
- Rough planning only unless exact panel measurements are known
20 oz tapered tumbler
- Common size
- 20 oz
- Suggested wrap width
- Use measured template
- Suggested wrap height
- Use measured height
- Bleed / overlap
- 0.2-0.3 in
- Notes
- Tapered blanks need a shaped template
16 oz tumbler
- Common size
- 16 oz
- Suggested wrap width
- 8.5-9.1 in
- Suggested wrap height
- 6.5-7.3 in
- Bleed / overlap
- 0.15-0.25 in
- Notes
- Brand shapes vary
11 oz mug
- Common size
- 11 oz
- Suggested wrap width
- 8.5-8.75 in
- Suggested wrap height
- 3.5-3.75 in
- Bleed / overlap
- 0.1-0.2 in
- Notes
- Keep clear of handle
15 oz mug
- Common size
- 15 oz
- Suggested wrap width
- 9.0-9.4 in
- Suggested wrap height
- 4.1-4.4 in
- Bleed / overlap
- 0.1-0.2 in
- Notes
- Check press clearance
Custom blank
- Common size
- Measured
- Suggested wrap width
- Measure circumference for wrap width
- Suggested wrap height
- Printable height + bleed
- Bleed / overlap
- As needed
- Notes
- If using this calculator, divide circumference by pi before entering diameter
How to use the Tumbler Wrap Size Calculator and Chart
- Choose inches or millimeters before entering measurements.
- Select straight or tapered mode, then enter the measured top diameter, bottom diameter when needed, side height, overlap, and bleed.
- If you measured circumference, divide it by pi before entering a diameter field.
- Download the SVG template or print-test PDF, print at actual size, and check the calibration mark.
- Use the PNG preview and Job notes TXT as support files for sharing, order notes, or press-station setup.
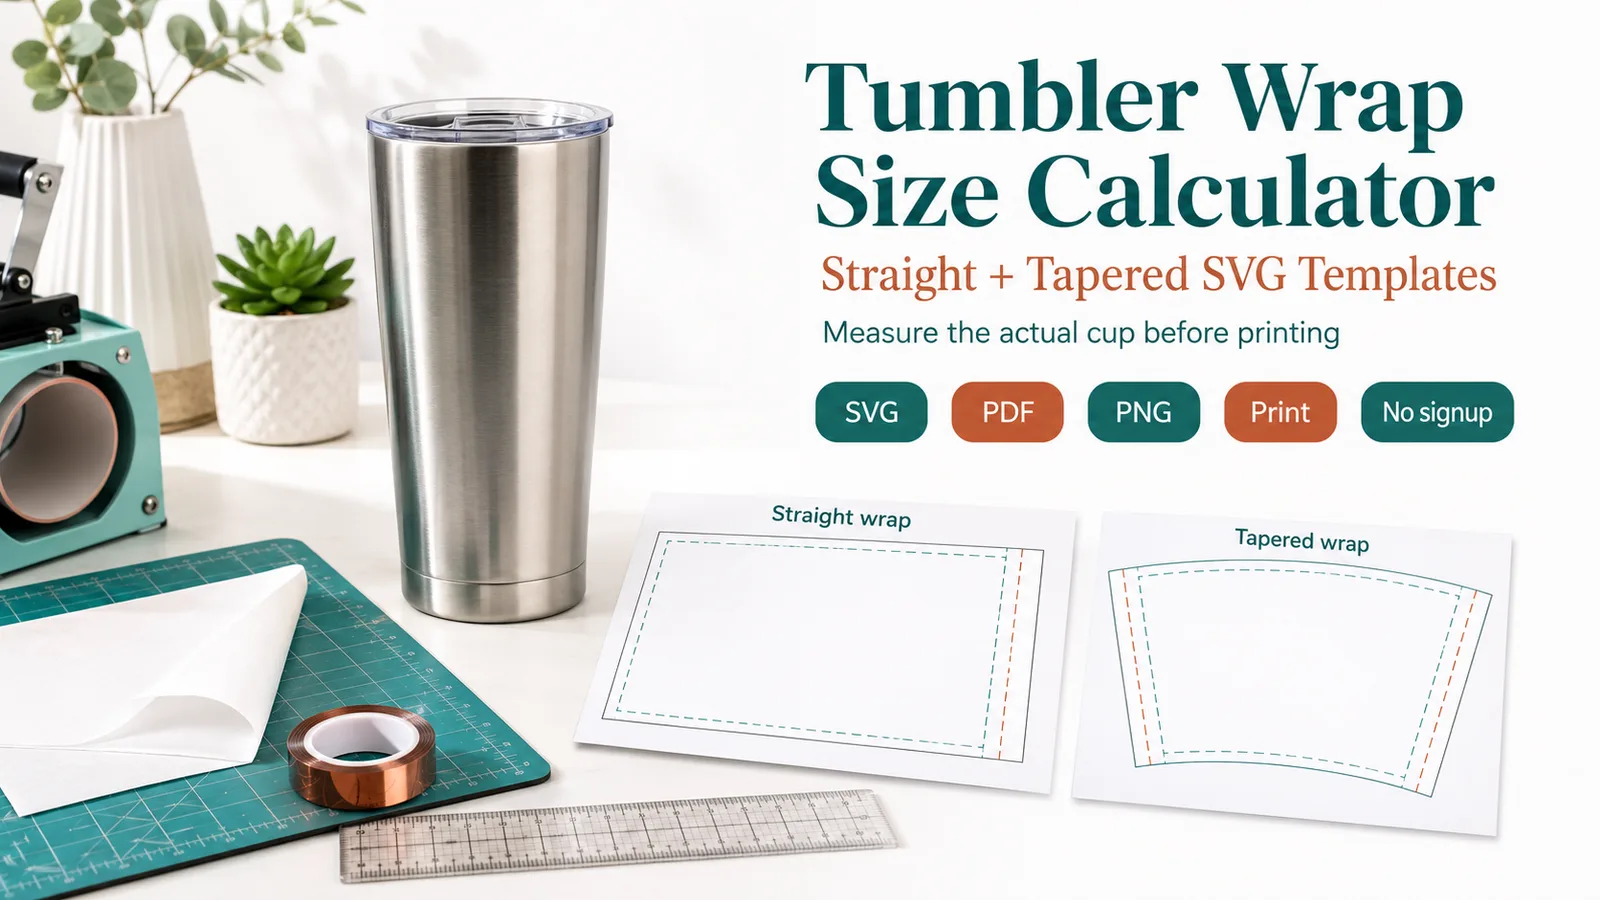
Straight and tapered examples
Measured straight tumbler
Inputs
- Mode: Straight tumbler
- Top diameter: 2.95 in
- Side height: 8.20 in
- Overlap: 0.25 in
Result
The calculator returns a rectangular wrap around 9.52 in wide by 8.20 in high.
Production check
Print on paper first and wrap it around the blank before sublimating.
Measured tapered tumbler
Inputs
- Mode: Tapered tumbler
- Top diameter: 3.10 in
- Bottom diameter: 2.80 in
- Side height: 7.60 in
- Overlap: 0.20 in
Result
The calculator returns top and bottom arc lengths, sector angle, curve radii, and an estimated curved SVG template.
Production check
If the seam does not line up on paper, adjust the measured cup values before pressing the final wrap.
Units and parameters
Keep units consistent from design setup through pressing notes. When the tool provides a preset, use it as a planning value and replace it with the actual garment or blank measurement when possible.
| Input or rule | What it changes |
|---|---|
| Unit | Choose the option that matches the job. Starting value: in. Options include Inches, Millimeters. |
| Tumbler shape | Choose the option that matches the job. Starting value: straight. Options include Straight tumbler, Tapered tumbler. Straight mode makes a rectangular wrap. Tapered mode makes a curved sector template. |
| Top diameter | Enter a measurement or quantity. Starting value: 2.95. For straight tumblers, use this as the cup diameter. |
| Bottom diameter | Enter a measurement or quantity. Starting value: 2.75. Used for tapered mode when the top and bottom diameters differ. |
| Side height measured along the cup wall | Enter a measurement or quantity. Starting value: 8.2. Measure from the top edge to the bottom edge along the side of the cup, not straight down through the air. |
| Overlap | Enter a measurement or quantity. Starting value: 0.25. |
| Bleed | Enter a measurement or quantity. Starting value: 0. |
| Formula | Straight mode makes a rectangular wrap from cup diameter, overlap, and bleed on both sides. Tapered mode treats the cup as a straight-sided truncated cone and unrolls it into a curved sector template. |
| Production check | Straight mode is for straight skinny tumblers or blanks with nearly equal top and bottom diameters. |
Rule and assumptions
Straight mode makes a rectangular wrap from cup diameter, overlap, and bleed on both sides. Tapered mode treats the cup as a straight-sided truncated cone and unrolls it into a curved sector template.
- Straight mode is for straight skinny tumblers or blanks with nearly equal top and bottom diameters.
- Tapered mode is for cups where top and bottom diameters are different and the flat template needs a curve.
- A curved template is still a planning template. Handles, brand-specific curves, ridges, lips, rubber bases, and irregular walls can change the real paper fit.
- Do not scale print output unless intentionally resizing; use the 1 inch / 25.4 mm calibration mark.
Use this tool for
- Calculating custom tumbler wrap size from top and bottom diameters.
- Estimating cup wrap width with seam overlap.
- Checking tapered tumbler measurements before printing.
- Downloading an SVG template or print-test PDF with a calibration mark.
Paper-test note
Inputs
Use the current calculator fields: unit, tumbler shape, top diameter, bottom diameter for tapered cups, side height, overlap, and bleed.
Result
The calculator gives a straight wrap rectangle or an estimated tapered sector, plus SVG, print-test PDF, PNG preview, and Job notes TXT outputs.
When to use this
Use it when you need a one-piece planning template from measured tumbler dimensions before printing or cutting the final wrap.
What to check before pressing
Print a paper test at actual size, check the 1 inch / 25.4 mm mark, and treat handled 40 oz blanks as rough planning unless exact panel measurements are known.
Quick reference chart
| Use case | Starting point | Check before pressing |
|---|---|---|
| Straight cup | Use average diameter | Verify circumference |
| Tapered cup | Measure top and bottom | Paper-test the curve |
| Handled cup | Use as a front-panel estimate | Do not wrap artwork through the handle |
Common mistakes
- Entering circumference in a diameter field.
- Using zero or negative overlap values.
- Ignoring taper when top and bottom diameters differ.
- Treating a 40 oz handled tumbler as a simple one-piece wrap when exact panel measurements are not known.
FAQ
Should I enter tumbler diameter or circumference?
Enter diameter in the calculator fields. If you already measured circumference, do not paste that number into a diameter field; divide circumference by pi first.
How do I size a tapered tumbler wrap?
Choose Tapered tumbler mode, then measure top diameter, bottom diameter, and side height along the cup wall. The calculator unrolls the cup as a straight-sided truncated cone, so the output is a curved sector template rather than an average-diameter rectangle.
What is seam overlap?
Seam overlap is the extra width added so the wrap closes cleanly around the cup. A small overlap helps prevent a visible gap after pressing.
Is bleed the same as overlap?
Not exactly. Overlap helps the seam close around the cup; bleed is extra artwork beyond the trim or visible edge. Some workflows use both, depending on printer and template setup.
Why is my size different from a template seller's dimensions?
Template sellers may target a specific cup brand, printable height, seam style, bleed, or handle cutout. Your measured cup can differ even when the ounce label is the same.